-40%
BMW 325i E30 1987 1988 1989 1990 1991 On Board Computer OBC Bulbs for Light Bar
$ 4.72
- Description
- Size Guide
Description
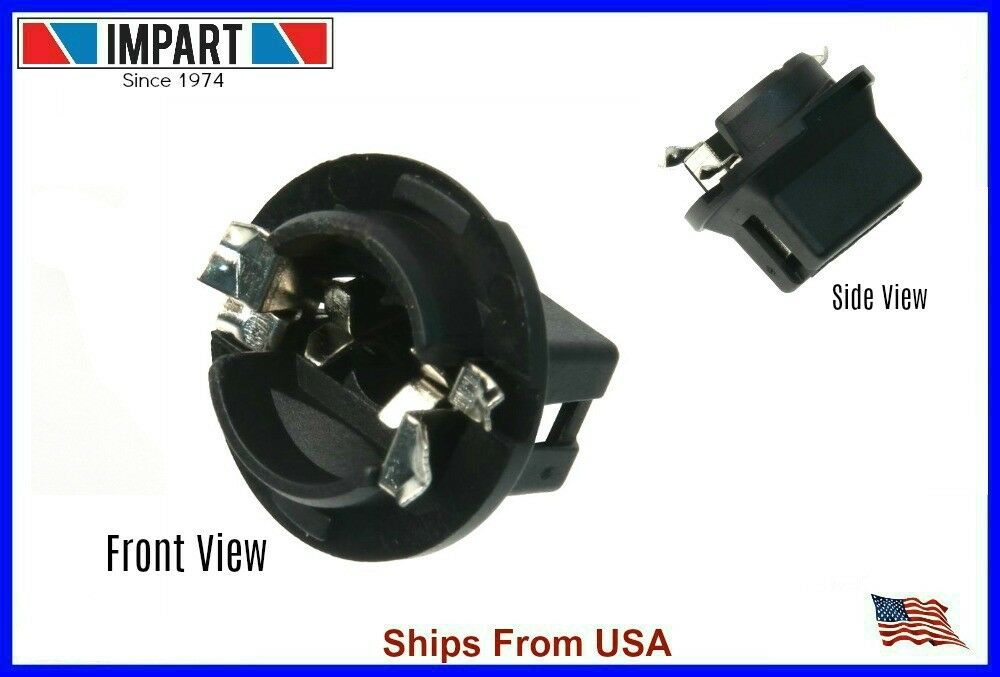
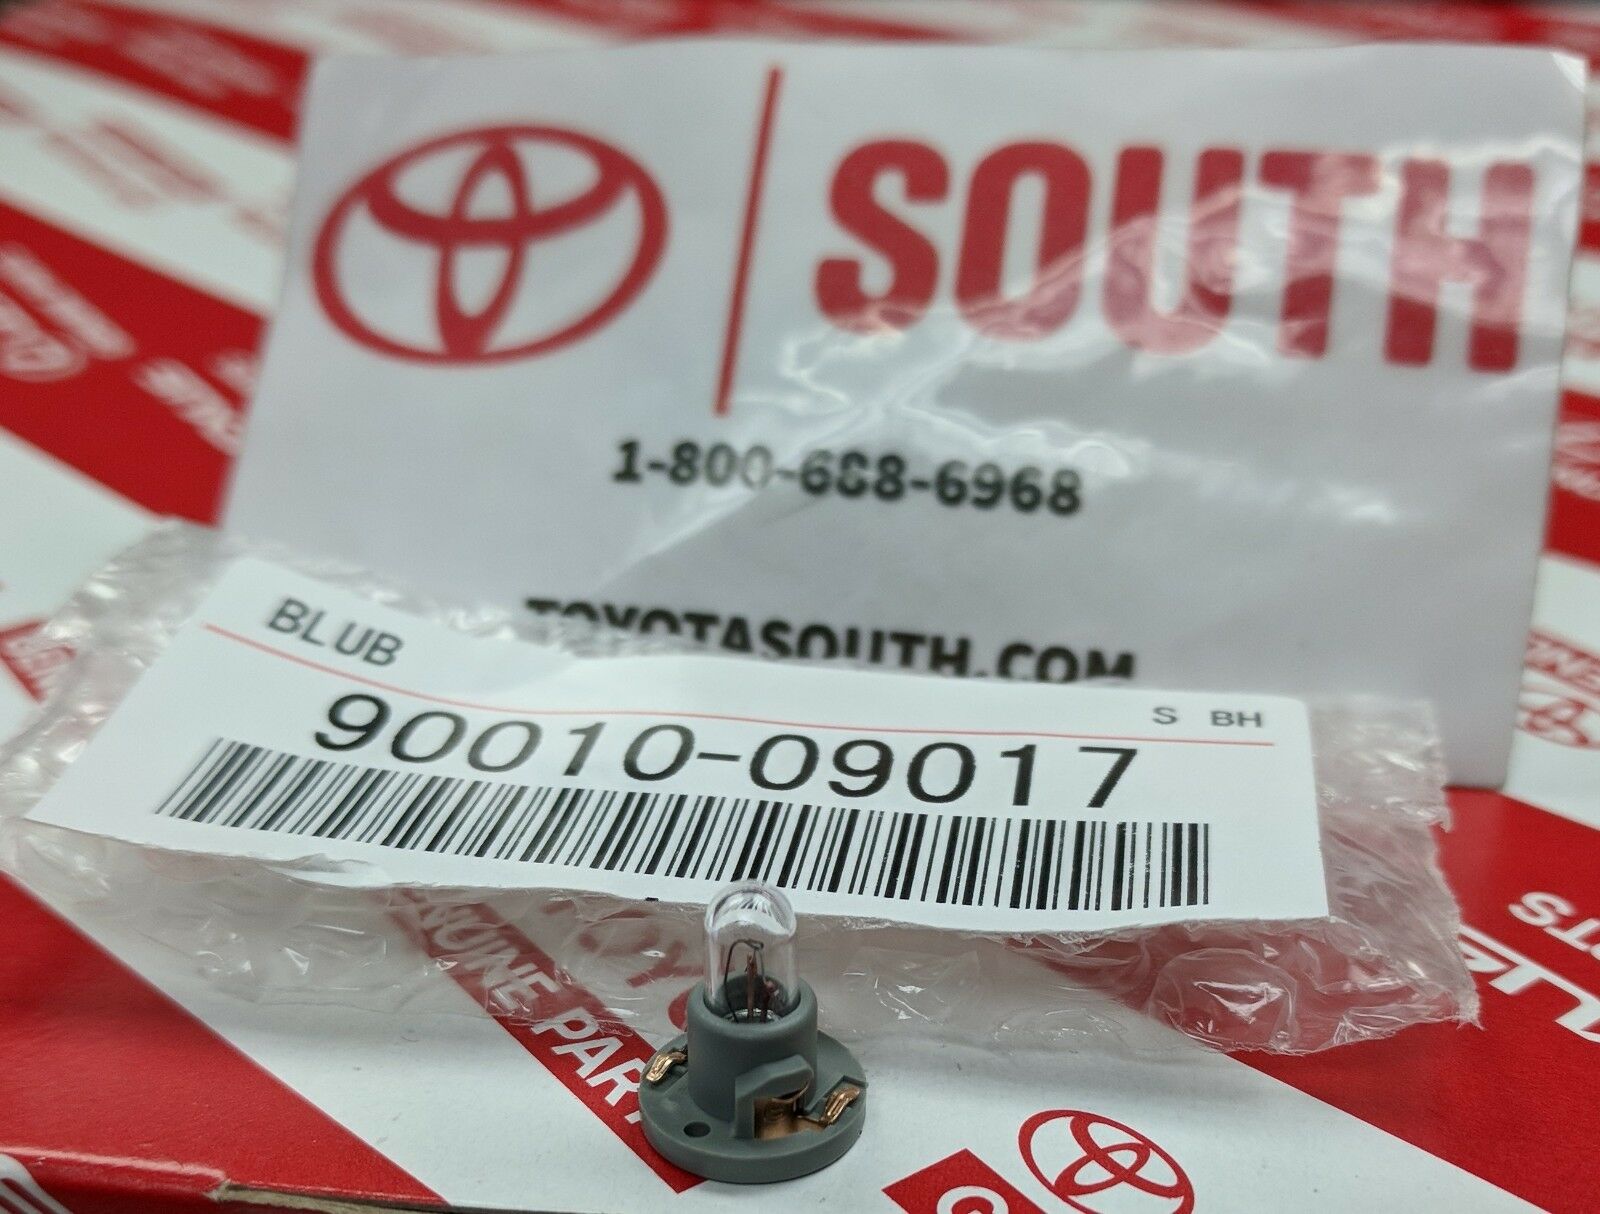
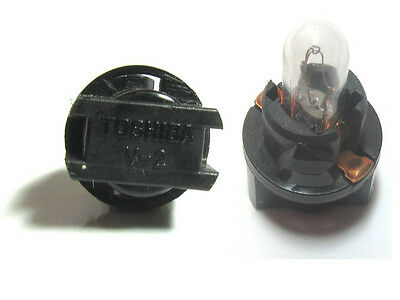
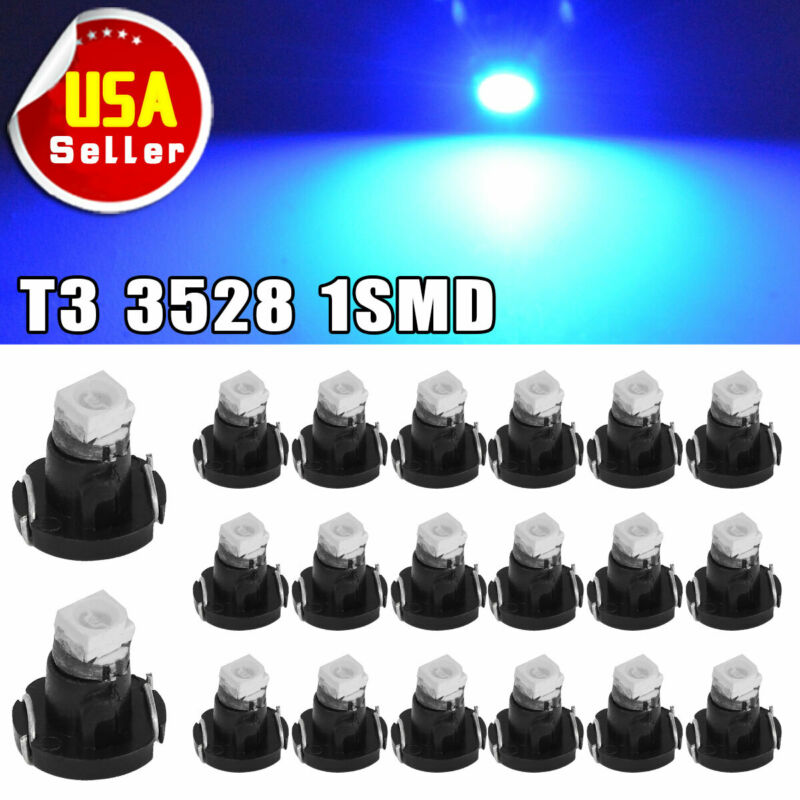
BMW 325i 325 E30 1987 1988 1989 1990 1991 On Board Computer OBC BulbsHere is a set of two (2) replacement bulbs for your light bar that goes into your On Board Computer. When one bulb burns out, they both go out because they are wired in series which is an idiotic engineering move. But anyway, you might as well replace both since you have it apart. If you do not know how to solder, I suggest you find someone to replace them for you. These bulbs are a little larger and have a much longer life than the original bulbs. The display looks awesome after they are installed. Shipping and insurance is .95.
Below is a picture of a light bar with the bulbs replaced.
Please note, you are getting the replacement bulbs, not the complete light bar
.
The light bar simply "slides" out of the right side of the On Board Computer:
Once the light bar is removed from the On Board Computer,
remove the circuit board from the light bar assembly:
With the circuit board out of the light bar assembly, you can easily
replace the bulbs and it should look something like this:
So you want to get the On Board Computer out of your BMW?? Here is how I do it and it takes less than ten minutes!
First, take out your radio. Make sure you know what your radio code is because once you disconnect the power, the code is lost!!
Next, remove your emergency flasher switch, or what ever switch is next to the On Board Computer.
The easiest way to get the switch out is to reach inside through the radio opening and push the switch out. Once the switch is out, you can disconnect it from the harness.
Now remove the cover from the left side of the glove box. First, let the glove box door drop down by removing the pins that hold the support straps.
Through that opening, you can reach around to the left side of the On Board Computer with a
small
Phillips screwdriver and remove the top and bottom screws (left hand side). I suggest you use a magnetized screwdriver or hold a magnet close by. I have spent COUNTLESS hours searching dash panels for dropped screws. After you remove the two screws, you want to go to the right side of the On Board Computer through the same glove box door opening and LOOSEN the top and bottom screws (right hand side). YOU DO NOT HAVE TO TAKE THEM ALL THE WAY OUT! Just a few turns will do it! Once the two screw on the right side are loose, you can "push" the left side of the On Board Computer out very easily.
Now, just pull the unit out through the glove box opening.
The only task remaining is to unhook the harness. Just lift up on the black metal bracket that is centered on the plug. After the bracket is raised, pull the plug outward and it should come right apart.
Copyright 2020 Mark DiLuciano

